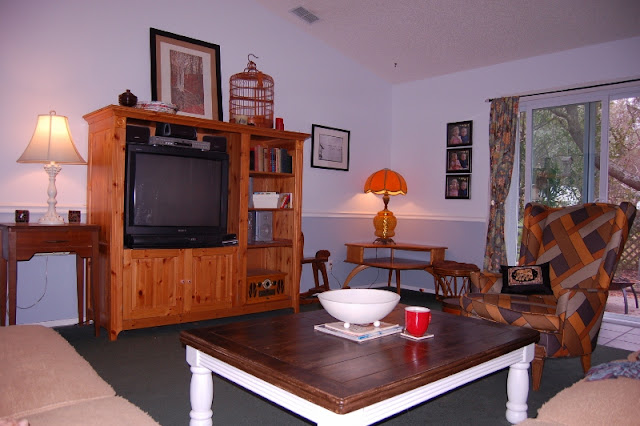
Hey everyone! I have some update pics for you today -- yay! One quick word before I go any further, though. This is not how things are going to look in the end. I've got a list of small goals for this little corner of my home to bring everything together at the end, but for now, let the excitement begin!
Before I give you some after pics, let me remind you what this space looked like just a few days ago:
Here's a straight on shot of the whole she-bang. The sewing table to the left of the console was in the living room before (as was the lamp). I moved the little chest from my bedroom into the living room on a whim to try to add symmetry and balance to the space. Wasn't sure how it was going to work out, but I really like it. It's much smaller (shorter) than the sewing table, but the lamp on top of it is much taller than the other lamp, so I think it works.
I love these two lamps. I bought the white one at Goodwill a year or two ago. It was spray painted a metallic silver and I just repainted it white. The other lamp (minus the shade) was given to me when a family member passed away. He was an antiques dealer. It was a sad way to acquire it, but I do love the lamp. A friend of mine gave me the shade several months later and I think they look awesome together.
I'm realizing now that the TV looks a little crooked...one of the reasons that I'd like to eventually mount this on the wall.
.jpg)
A close-up shot of the TV and console...
Another close-up, with a view into the entryway. Just wanted to demonstrate how much more open everything is without that giant, bulky entertainment center taking up so much space (and light).
A detailed shot of our distressed wood top. I love the variation in texture due to the staining process. I also love how the orange glow from the lamp to the right plays off the color.
Immediate(ish) goals for this wall include:
1. Remove the black and white photos to the right and left of the console.
2. Figure out some sort of artwork to hang above (or around?) the TV.
3. Possibly mount the TV on the wall; not too high, though. We don't want to have to look up at it.
4. Add baskets in the cubby holes of the console. I've been on the lookout for some sort of fabric box, but most of the versions I've seen are either a boring beige color or come in patterns that are just not my style. I'm trying not to be too impatient about this step. I want just the right thing.
5. Once baskets are in place, I want to move the cords and plugs into one of the cubbies (which will then be hidden inside a basket). Right now, they're just bunched up behind the TV because there's no place else for them to go and it looks a little chaotic back there.
After that, I guess we'll just let the area evolve. But for now, I'm just so happy to stand back and love the difference.
Thanks for reading!
Sarah


Looking good. Thanks for coming to the party :)
ReplyDelete